mech·a·ni·cian [noun] [mek-uh-nish-uhn] : a person skilled in constructing, working, or repairing machines;

Tuesday, March 13, 2012

Cylinder and Cylinder Heads

The barrels freshly painted.
New over sized pistons and rings next to the old.


The required gaskets (from left to right) Cylinder base O rings, Cylinder base gaskets, timing chain tensioner, Head gaskets, timing chain tunnel O ring, and piston circlip
The cylinders recently rebored .50mm oversized (picked them up this morning)


If you're in San Antonio, Texas, USA then I recommend Duffin Engine Service


To gap the rings push the ring in to the barrel about 2 inches using the 


piston.
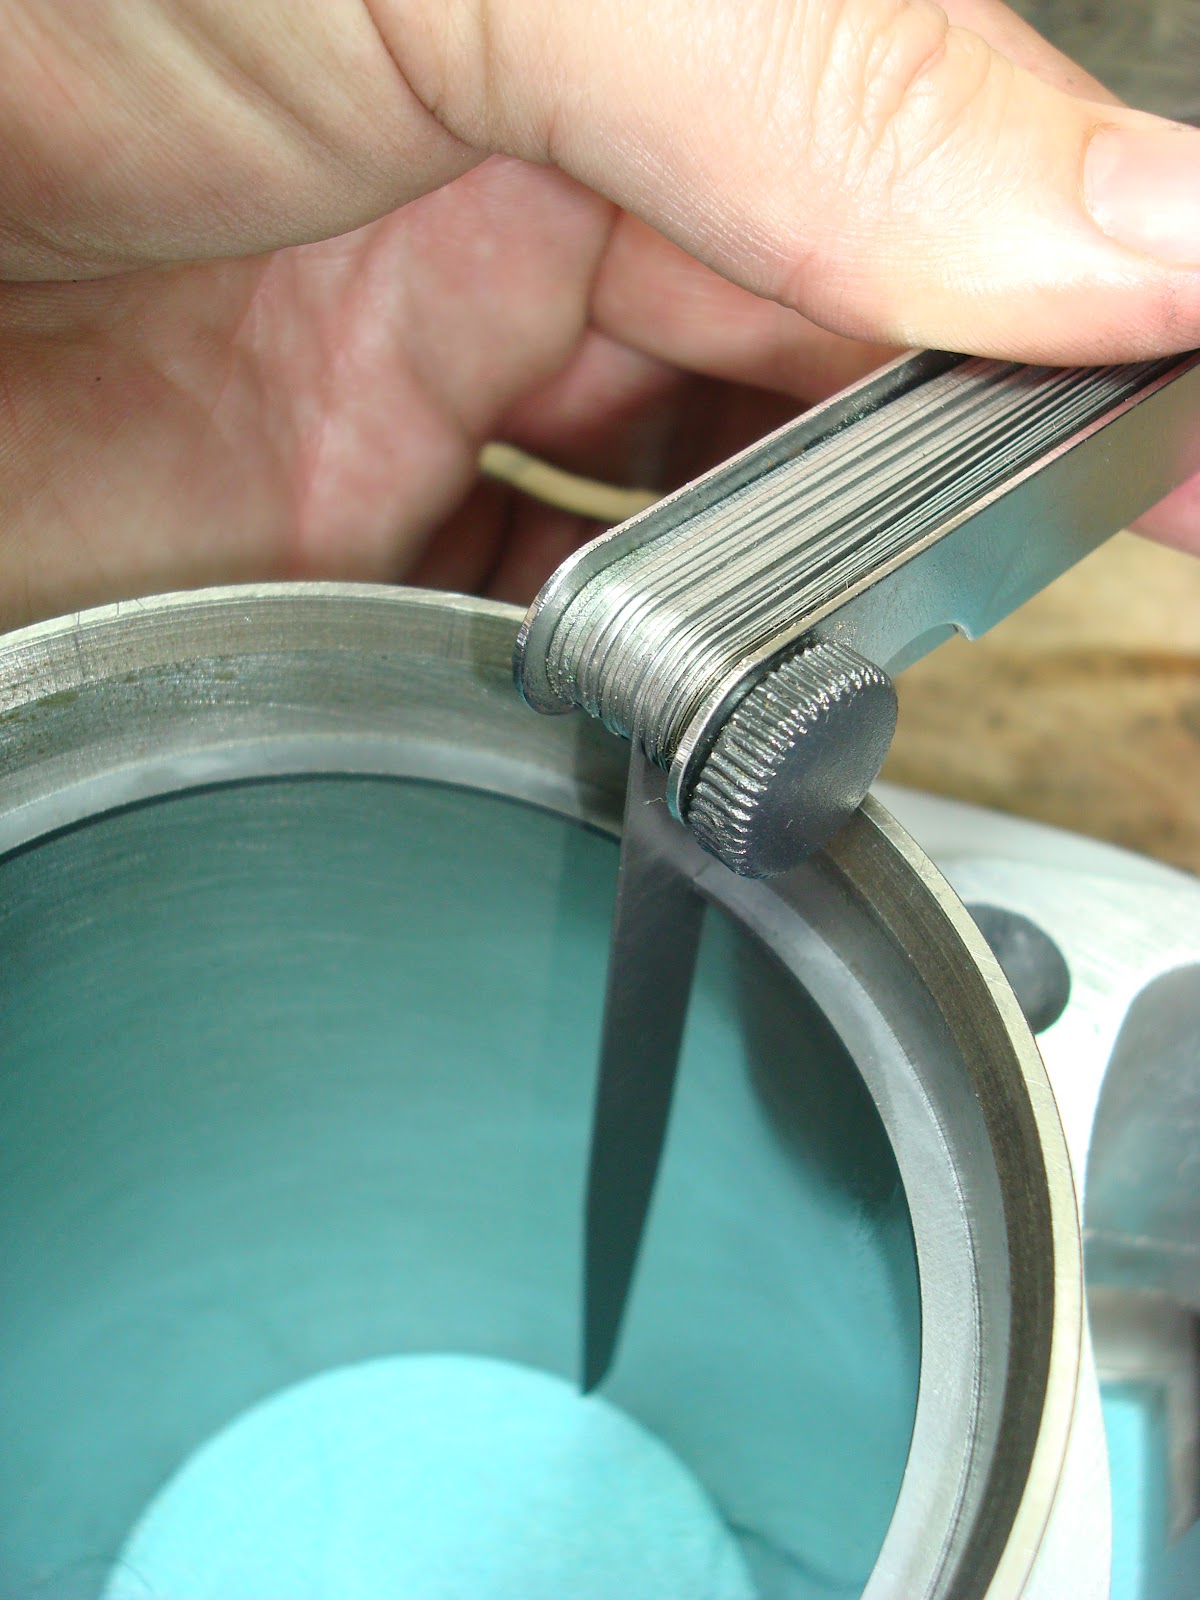


Gapping the rings - all rings were within tolerances right out of the box. If not then check the manual on how to file the gap. Note: If the gap is extreme then check the other measurments.


The rings are composed of 5 items. 1) Top compression ring, 2) The Second compression ring (thicker than the first), 3) Top Oil Ring, 4) Oil Ring, 5) Lower Oil Ring. The compression rings need to be installed with the markings up. Oil rings dont have any markings and can be installed any way.
Each piston is marked. 50 for .5mm oversize (standard psiton had no markings) and EX - which needs to be pointed toward exhaust - make sure you get this right with the Virago.
Rings gaps need to be spaced in opposition to each other (see the manual). This is all good in theory, but when your trying to stuff the rings in to the barrel - good luck on making this work. I recommend spacing the rings pre-installation and winging it - just get it close.

I recommend fitting the circlip on one end of the piston at the bench - also stuff some rag in the hole before fitting the second one - trying to fish a lost circlip out of the crankcase = no fun.
Before fitting the head you need to fit the two head gaskets - the round squish band (green) and timing chain tunnel - use grease to hold it in place - it may not stay and get trapped between the cylinder and the head.
Note the rubber absorbers - the head also has absorbers - don't get them mixed up, they are not the same thickness - the cylinder absorbers are slightly thicker.


There is paint in the exhaust  intake - I need to clean that out.


The  front cylinder is on, now for the rear cylinder. Interestingly the manual says do the rear one first - I have no idea why.
Before you put the head on - check the circlip is in - its worth the 30 seconds it takes to check - if it comes out, only bad things can happen
Looks good.
Note the timing chain rear tensioner on the right cylinder - it needs to be tucked in to it slot when you put the cylinder head on.


Sunday, March 4, 2012

Oil Pump Inspection

Measuring the wear on the inner and outer rim of the oil pump rotor. It’s just within tolerance. Unfortunately parts are not available (they never have been) you have to buy the whole assembly for $266. No thanks! This one will have to do for now.


Clutch Inspection


This clutch plate has a little damage (probably from all the metal floating around in the oil) – it’s not too bad, if I didn’t have a spare, I probably would have cleaned this up.

The clutch springs are not within the recommended tolerances.


The clutch plates are within the recommended tolerances.


Testing for any warping between plates – these are fine.

The new springs show the difference – longer and perhaps have a little bit more beef: only $8.99 for all six – well worth replacing.